Wedding Invitation Maker: The Complete Guide
Templates, editors and print settings: how to choose a wedding invitation maker and design a suite that looks professional.
A wedding invitation maker is any tool that lets you design your own invitations rather than commission them, and the category has quietly transformed who gets to make beautiful stationery. A decade ago a polished suite meant a designer and a print shop; today a couple with a laptop and a template can produce something that looks professional in an afternoon, then print it at home, send it to a print service, or share it digitally. This guide explains what these makers actually do, how to choose between them, the workflow that gets a good result, and the design and printing pitfalls that trip up first-time DIY couples.
The short version
- A maker is a template plus an editor. You start from a professional layout and change the words, colours and photos.
- Online, app or software. Browser tools suit most couples; installed design software suits those who want full control.
- Design discipline beats decoration. A clean hierarchy and two good fonts read better than a crowded card.
- Plan the output first. Home printing, a print service and digital sharing each need different files and settings.
What a wedding invitation maker actually does
At its core, an invitation maker hands you a professionally designed template and lets you edit it. The layout, spacing and typography, the hard parts of graphic design, are already solved; your job is to swap in your names, dates and details, adjust the colours to your palette, and export the result. This is why the category exploded: it removes the two barriers that used to stop people designing their own invitations, which were software skill and a blank page.
Most makers work the same way under the hood. You pick a template, edit text and images in a drag-and-drop canvas, then export either a print-ready file or a shareable digital version. The good ones also keep a whole suite consistent, so your save-the-date, invitation, RSVP and details card share one look without you rebuilding the design each time. That consistency is worth more than any single flourish, because a coordinated suite is what makes DIY stationery read as intentional rather than improvised.
The main types of invitation maker
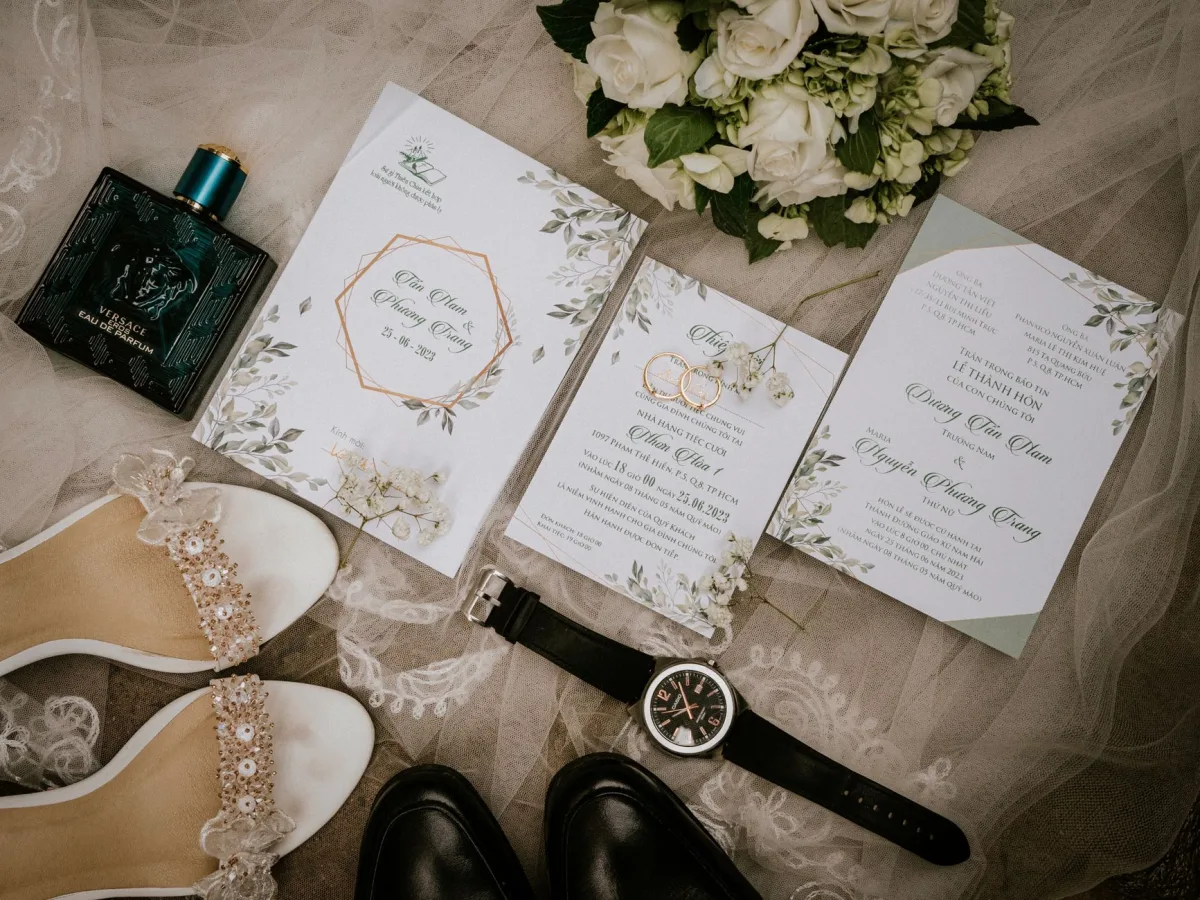
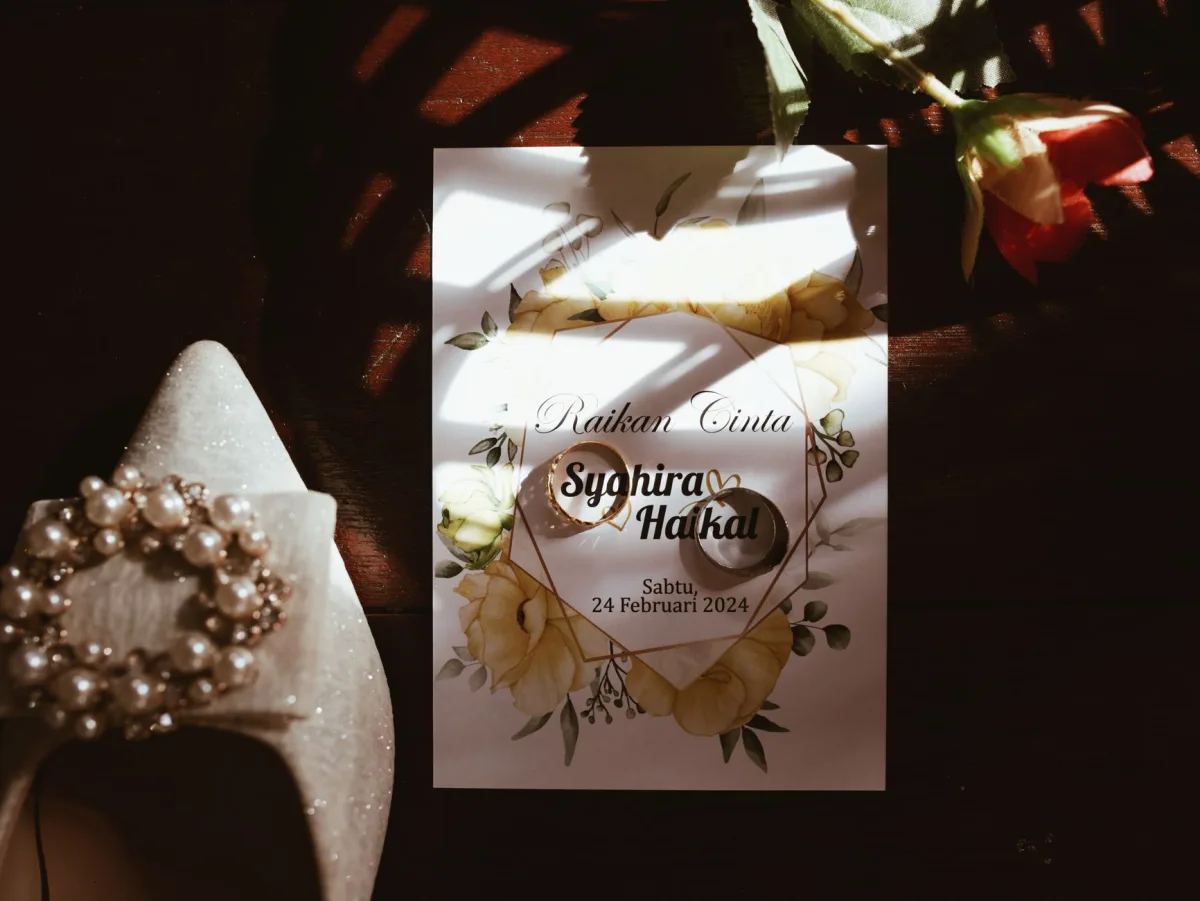
The tools fall into a few clear families, and the right one depends on how much control you want against how much time you are willing to spend learning.
Online design platforms
Browser-based editors with large template libraries. The easiest starting point for most couples, with no installation and instant sharing.
Print-service designers
Stationery retailers with a built-in editor. You customise a template and they print and post it, so design and production are one step.
Mobile apps
Design entirely on a phone, handy for animated digital invites and quick shares over messaging apps. Less room for fine control.
Professional software
Installed design programs offering total control over every element. The steepest learning curve, best for couples who want a truly bespoke look.
Among the online platforms, Canva is the best-known example: a graphic design tool, described by Wikipedia as using a drag-and-drop interface with a large library of templates, that many couples reach for first. Because it is so widely used for wedding stationery, we cover it in its own dedicated guide to Canva wedding invitations, including how to keep a whole suite consistent and export it cleanly for print.
How to choose the right maker
Rather than chasing the tool with the most templates, choose against your own constraints. Four questions settle it for almost everyone.
First, what is your output? If you want physical cards, a maker that connects to a print service, or exports true print-ready files, saves a lot of friction. If you are going fully digital, prioritise sharing and RSVP features instead. Second, how much design confidence do you have? Be honest: a beginner is far better served by a strong template library than by powerful software they will fight. Third, what is your budget? Many makers are free to design in and charge only when you download, print or unlock premium elements, so read where the cost actually falls before you invest hours. Fourth, do you need a matching suite? If you want save-the-dates, menus and thank-you cards to match, pick a tool built around coordinated sets rather than single cards.
The design workflow that works
A good invitation is made by a sequence of small, ordered decisions, not by decoration. Follow this order and the card almost designs itself.
Start with the words, not the visuals. Write and proofread your full wording first, because the text determines how much space you need and how the hierarchy should fall. Then choose a template whose structure fits that content rather than one you simply like the look of; a beautiful template with the wrong number of text fields only creates work. Next, set the hierarchy: the couple's names are the largest element, the date and venue are clearly secondary, and everything else is smaller still, so the eye lands in the right order. Only then adjust colour and fonts to match your day, and finally proofread again, ideally with someone who has not seen it, because you stop seeing your own typos within an hour of staring at them.
The single most valuable habit is restraint. Typography, the art of arranging type so it is legible and appealing, does most of the heavy lifting on an invitation, and it works best with limits. Two complementary fonts, generous margins and plenty of empty space read as elegant; five fonts and edge-to-edge decoration read as a first attempt. When you are unsure, remove something rather than add it.
Printing what you make
A design that looks perfect on screen can disappoint on paper if you skip a few technical basics, and this is where DIY suites most often go wrong. Plan the output before you fall in love with the design.
Home printing
Cheapest and most immediate, but limited by your printer and paper. Buy heavier card stock and always run a full test print before committing the batch.
Online print service
Upload your file and receive professionally printed cards. Better paper and finish than home printing, at a per-piece cost. Order a proof first.
Digital only
Export an image or a link and share it. No printing cost at all, ideal for save-the-dates, reminders and informal weddings.
Whichever route you choose, a handful of settings protect the result. Export at 300 DPI so print stays crisp; include bleed, the small margin of extra design past the trim line, so no white edges appear when the card is cut; and export as a PDF for print rather than a screen image. If a home printer is doing the job, test on the exact stock you will use, because colour and sharpness shift between paper types. Skipping these steps is the most common reason a lovely on-screen design arrives looking flat.
Common DIY mistakes to avoid
Most self-made invitations fail for the same short list of reasons, and every one is easy to prevent once you know it. Too many fonts is the classic: pick two, one for headings and one for body, and stop there. Low-resolution images are the next, since a photo that looks fine on a phone can turn blocky at print size, so use the highest-resolution files you have. Overcrowding is the third, and the fix is empty space, not a smaller font. Forgetting the details is a quieter failure: every invitation needs the who, what, when, where and how to reply, and it is surprisingly easy to leave one out while admiring the layout.
The last and most preventable mistake is proofreading. A misspelled name or a wrong date is expensive once printed and embarrassing once sent, so have at least two people who were not involved in the design read every word before you export. For the wording itself, from host lines to dress code, our guide to wedding invitation wording gives you the phrases to get right, and if you decide to skip paper entirely, our overview of digital wedding invitations covers sharing and RSVP tracking. However you make them, the invitation is the opening note of the whole celebration, and Matrimony360 is here for the part that comes first: finding the person you are sending it about.
Frequently asked questions
What is a wedding invitation maker?
A wedding invitation maker is any tool that lets you design your own invitations instead of hiring a designer. It hands you a professionally built template and an editor, so you change the wording, colours and photos to suit your day, then export the result to print at home, send to a print service, or share digitally. Makers range from browser-based design platforms and print-service editors to mobile apps and full professional software.
Are wedding invitation makers free?
Many are free to design in and only charge at a later stage, such as when you download a high-quality file, order prints, or unlock premium templates and graphics. Others are subscription tools or per-order print services. The important thing is to check where the cost actually falls before you invest hours in a design, since a tool that is free to use can still charge for the export or print you ultimately need.
Can I print invitations I make myself?
Yes. You can print at home on heavier card stock, upload your file to an online print service for a professional finish, or skip paper and share the design digitally. For print, export at 300 DPI, include bleed so there are no white edges after trimming, and save as a print-ready PDF. Always run a test print or order a proof on your chosen paper before committing to the full batch.
Which invitation maker is best for beginners?
Beginners are usually best served by a browser-based design platform with a large template library, because the hard design decisions are already made and there is nothing to install. Choose one built around coordinated suites if you want your save-the-date, invitation and RSVP to match. Confident designers who want total control may prefer professional software, but for most couples a strong template and a simple editor produce a better result faster.
What are the most common DIY invitation mistakes?
The usual culprits are using too many fonts, low-resolution images that blur at print size, and overcrowding the card instead of leaving empty space. Missing key details, the who, what, when, where and how to reply, is another, along with skipping proofreading. Fix them by limiting yourself to two fonts, using high-resolution files, embracing white space, and having two people who were not involved check every word before you print.